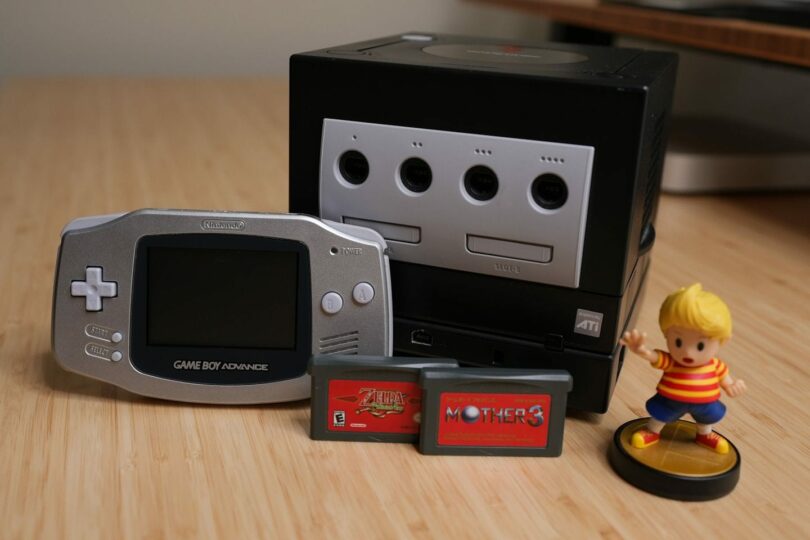
Over the last few years, YouTube channels like My Life in Gaming and websites like RetroRGB have clued me in to the world of RGB and scaling devices. I have experimented with a few, but with the release of the RetroTINK-5X Pro, I have finally found one I’m really happy with. I’ve used mine to construct a Megazord (or Voltron if you prefer) for playing Game Boy Advance games in high resolution. It’s completely unnecessary and pretty expensive overall, but damn, does it look good.
Base Setup
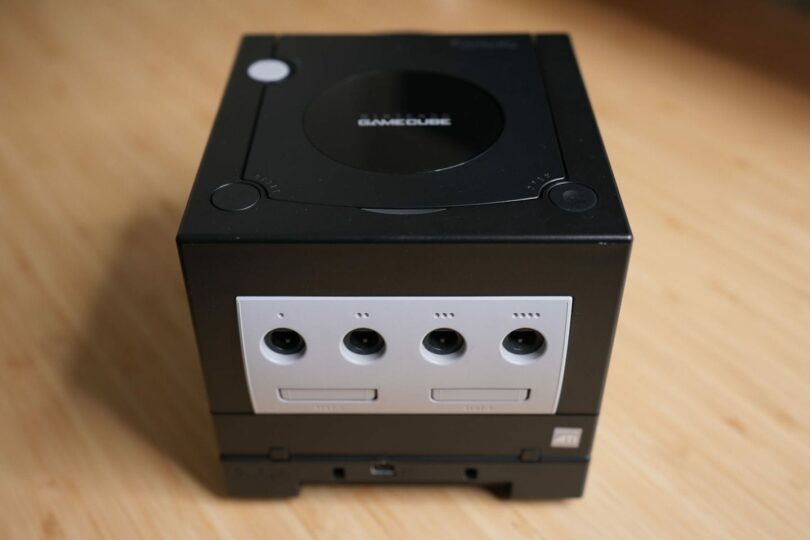
The basis of this setup is a Nintendo GameCube and the Game Boy Player attachment. It needs to be an earlier model GameCube that had the Digital AV Out port for this to work. The Game Boy Player attachment allowed you to play Game Boy, Game Boy Color, and Game Boy Advance games on your GameCube. As a kid who loved my Super Game Boy, I was so pumped when they released the Game Boy Player. Unfortunately, I sold my original one a couple of years ago, so I had to buy a new one. If you can find one without the software disc, you might be able to save a couple of bucks, and you’ll soon see why you shouldn’t need the disc anyway.
Controller

When the Game Boy Player came out, there was also a GameCube Game Boy Advance cable. It allowed you to connect your Game Boy Advance to a GameCube and use it as a second screen. Kind of a precursor of sorts to the Nintendo DS and Wii U Gamepad. I think mine came with Final Fantasy: Crystal Chronicles. If not, I definitely bought it so I could play that game. You could also use it with Game Boy Player to use an actual Game Boy Advance as your controller. It made for a much better experience than the GameCube controllers when playing Game Boy Advance games. I want to eventually replace my platinum GBA with a black one to match my GameCube, but that’s a purchase for another day. 😂
Software
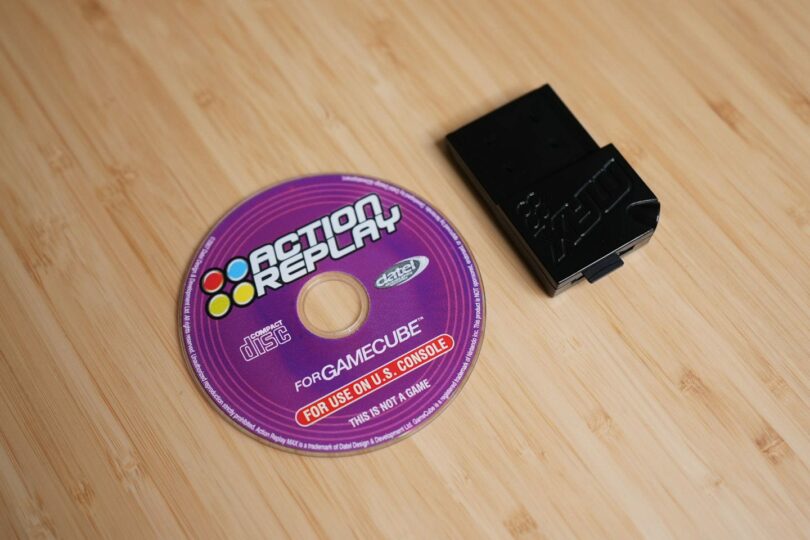
We won’t be using the Game Boy Player disc or software that shipped with it. It outputs a blurry and softened image, which is fine for some, but we can do better. First, you will need something like an SD Media Launcher that allows you to boot custom software from an SD card. It comes with an Action Replay disc and a memory card with an SD card slot. If you download the Game Boy Interface, you should be able to run it with Action Replay. GBI gives us much more control of the output than the standard player software, so it’s a much better option. I used the High Fidelity settings and the OSSC output or the gbihf-ossc.dol+cli file in this setup.
Output and Cables

If you remember the days of the GameCube, we didn’t have a lot of great options when it came to output. For the most part, folks here in the US were using composite or maybe S-Video. There was a set of official component cables that used the Digital AV Out port. But they were hard to come by back then and are even more rare and expensive today. These days we have more options, but they’re not necessarily any cheaper. The EON Gaming GCHD Mk II lets you use Wii Component or SCART cables to output a sharper analog signal from your GameCube. I paired mine with a set of HD Retrovision Wii/Wii U Component cables. Using the GCHD and Component cables will give us an output signal perfectly ready for scaling.
A few things to note here, I did have to go into the GCHD settings and set Mode Select to dYUV. Otherwise, I had a large vertical black band through the image. And I also tried using a PAL region Wii SCART cable, but no matter what I did, I couldn’t get the black band to go away like I could with the component cables.
Scaling
The Game Boy Advance’s native resolution of 240×160 pixels is insufficient to fill your 1080p or 4K screen. If we try to use it at that resolution, it would, at worst, not work with your television. Or, at best, be scaled by your TV’s built-in scaler for a very soft-looking picture. That’s where dedicated scalers and line doublers come in. They allow you to scale analog video signals with very impressive results. Some popular options are the Micomsoft XRGB-mini Framemeister, the Open Source Scan Converter or OSSC, and the RetroTINK product line.
The most recent entrant is the RetroTINK-5X Pro, and that’s the one we will be using for our setup. Mike Chi, the engineer behind RetroTINK, added special handling for GBI 360p mode in a recent firmware update, which is exactly what we’ll be using. I prefer to use the 1080p (Fill) option, which will do a 6× upscale, resulting in a 1440×960 image centered in our 1080p frame. So make sure you have at least v1.28. Otherwise, you’ll need to update your firmware.
Final Thoughts
The Game Boy Advance has a pretty stellar catalog of games. Getting something like this set up and working has got me wanting to dive back into it headfirst. I considered a GBAConsolizer mod or waiting for an Analogue Pocket and Dock, but now I don’t need to. I have all I need for incredibly high quality, scaled output on my TV with this setup. Sure it’s overkill, and sure it’s expensive, but it’s also more versatile. I’ve already used the RetroTINK-5X with many other consoles, and the component cables I bought work with the Wii. Overall, I am very happy with this setup and can’t wait to play and replay some Game Boy and Game Boy Advance favorites. Do you have any favorite games I should make sure to play?
If you want to learn more about upscalers, definitely check out My Life in Gaming and RetroRGB. They’re way more knowledgeable and thorough than I can ever hope to be.